I’ve recently redone my geo alignment, and someone mentioned that they would be interested to know a bit more. There is a brief guide on the SELOC wiki, but I thought I’d expand on a few points. I don’t claim to be an expert, and there is undoubtely better ways to do this, but this is what seems to work for me. If you can’t find a level area, just pay someone to do it!
The first thing to do is to find a way to lock your steering wheel straight ahead. If you’ve lost the mid-point, turn it lock-to-lock and then find the middle.
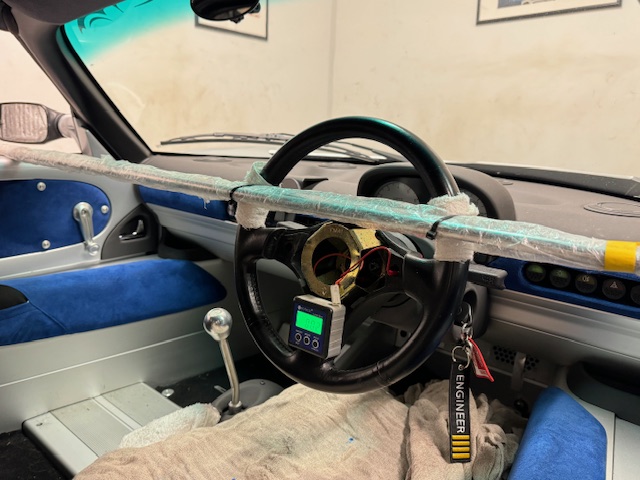
I wanted to measure front bumpsteer, so mounted a laser on the middle of the wheel to point at the mirror. This is pointing the wrong way, as I had limited space at the front of the car; however, as long as you remember the wheels toe-out in bump, you should be fine. Measure the distance from the wheel centre to the edge of the rim. Then set the mirror 10x this distance from the laser (remember to account for the slope of the mirror if applicable). With a bit of paper mounted on the rig, set the wheel at ride height. Then take measurements at 10mm intervals in bump and droop, by drawing a line where the laser is shining at that height. The wishbones can be set at the correct height by placing a jack underneath and lifting; you may want to remove the spring. Measurements were referenced from the desired ride height, so measure from the centre of the wheel to the top of the arch to be able to replicate this when the car is off of the ground. When finished, measure the distance on the paper, and divide by 10 to get the actual bumpsteer. For example, if the laser line moves 4mm after moving the wheel up 10mm, then that is actually 0.4mm of bumpsteer.
Next, add some ballast to mimic the driver weight; I used breeze blocks. The manual instructs you to weigh it down for two passengers, but I drive the car myself most of the time, hence just for my weight.
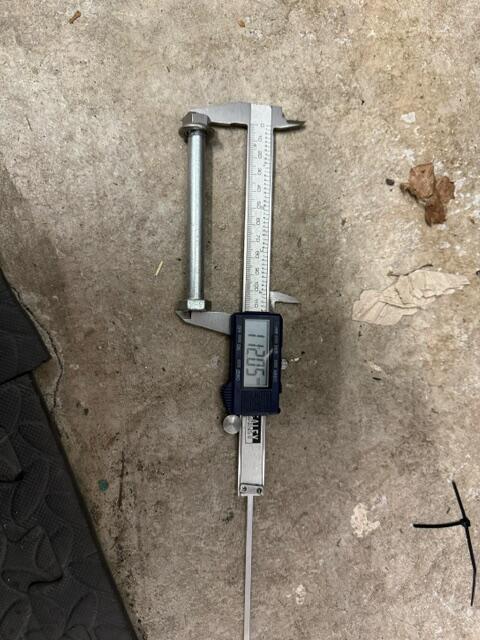
Once you’ve done that, set the ride height at the chassis measuring points (between the wheels). To make it easier, I chopped up two bolts; one is 10mm longer for the rear: I wind the nut up and down until it’s a snug fit, and then measure it.
The ride height is adjusted by winding the collar down to raise the height, or up to lower it. If you struggle to get a spanner in at the front, you can lightly tap it around, but be careful of damaging the soft aluminimum collar. The first time you make an adkustment, count the number of turns and then work out the change in ride height. This gives you an idea of how much to move it each time.
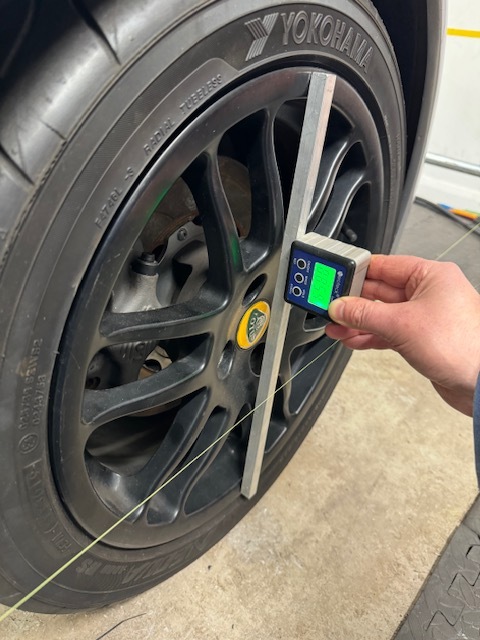
Once happy, move on to the camber. I used a piece of straight metal, and then a digital inclinometer. Adding a 1mm shim reduces camber by around 0.25 deg at the front, and by around 0.3 deg at the rear.
Next it’s time for the toe. Standard and suggested settings are given in the SELOC Wiki, but note that front toe is given as ‘total toe’, meaning it is halved on each side, whilst rear toe is given for each wheel. Front wheels should be straight or very slightly toe out, whilst the rear should have a reasonable amount of toe in.
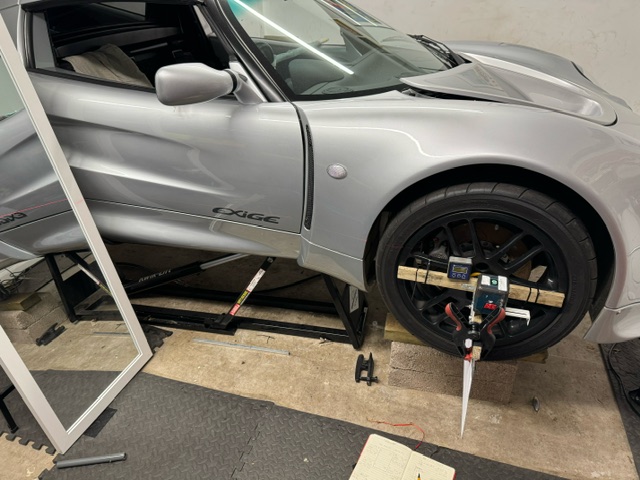
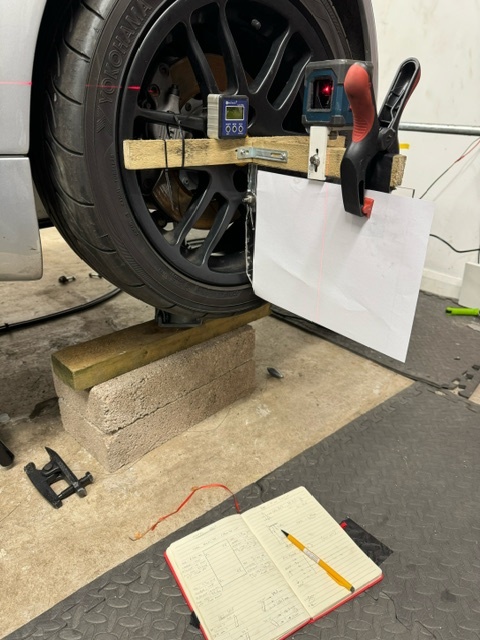
You’ll need a pole at the front and rear; aluminium is best, although steel or copper tubing could be used. Tape them together and mark notches across both at the same time, this will mean they are exactly the same distance apart. Mount the poles on the car or on axle stands. I chose to mount on the car, as when the car is lifted up, the strings are lifted up out of the way too, allowing easy access underneath.
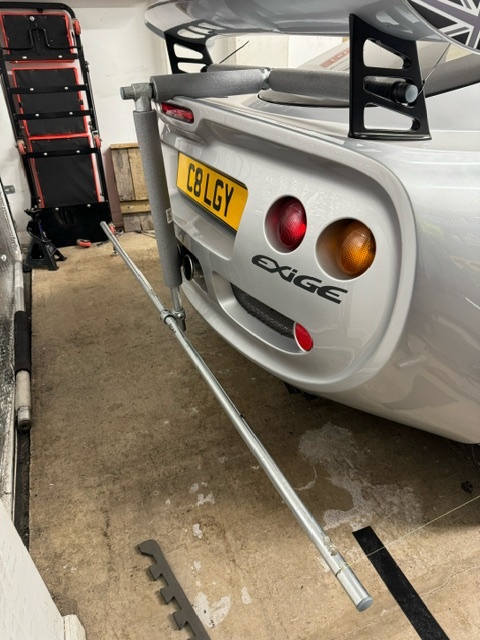
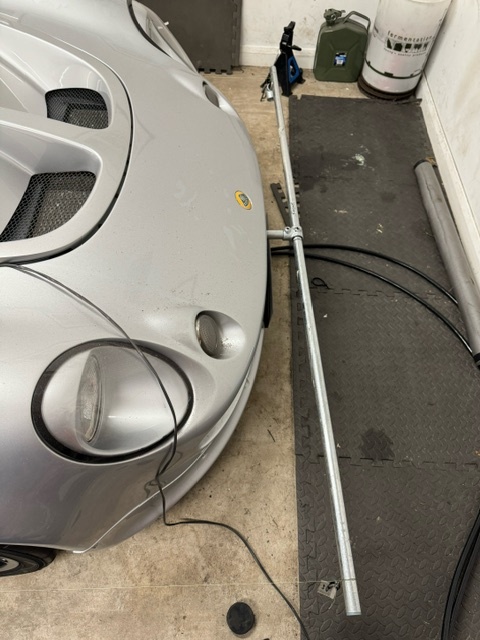
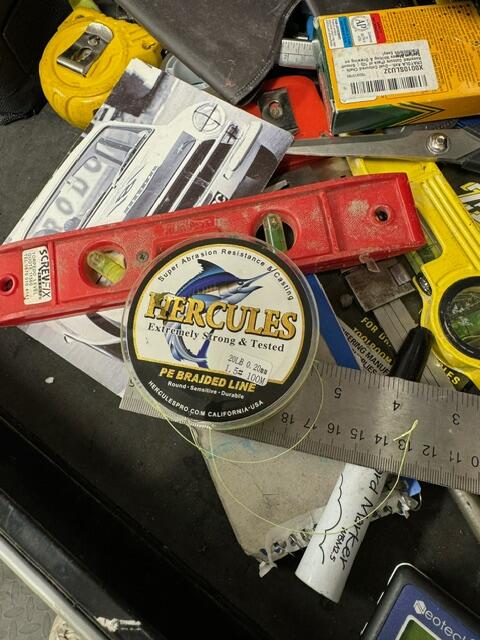
Mount fishing wire in the grooves of the poles. Brighter colours are easier to see when measuring, and braided line is also less elastic.
Adjust the poles until the distance from string to the centre of the rear wheel is equal on each side. If you have a piece of metal from measuring the camber, tape it across the middle of the wheel. This will make it easier to setup. Setup the back, then the front and then keep going backwards and forwards until it is all even. You really should be aiming for less than 1mm difference here. Take your time, it is a massive pain but it is worthwhile to get correct. If the strings don’t form a perfect box, then you will have a parallelogram, and will have toe in on one side and toe out on the other.
When measuring, be careful to move the vernier caliper up to the line without touching it. Take time to get an accuarte reading, especially with the front where you could easily end up with toe in by accident. Slide the caliper up and down the wheel or tap the end of the caliper against the wheel and check for string movement. Take a reading, then reduce the distance by 0.1mm, lock the slide and then re-check; when the string twitches, you know you’ve went too far. Make sure to keep the caliper parallel to the ground, and perpendicular to the wheel, you can easily alter the reading by a 1mm if not careful. I found the best way to do this is by looking at 45 deg from the side and 45 deg from above:

When happy, measure the distance from the front of each wheel to the string, and then the back of the wheel to the string. Be strict with sign convention; if you take the front value away from the rear value, -ve reading will always be toe in.
Once you have your initial readings at ride height, lift the car up and take appropriate precautions whilst you’re under it. Before adjusting anything, take another set of readings whilst the suspension is in full droop. Compare with the previous readings, and work out how much the toe changes (bumpsteer). In the air, the front wheels will move in the toe-in direction, but the rear wheels may not experience much change at all (for reference, I targeted 0.5mm toe-in at the front, and 1.2mm toe in at the rear). For your desired toe setiings, work out how much it should be at full droop, and adjust to achieve that. Mark it up the track-rod/rear toe link and then tighten up. After tightenting, make sure the mark is in the same place. Now drop the car back down, bounce the corners and roll it back and forward (this makes a difference!).
If it needs adjustment, jack the car up and repeat. I found it much easier to get fine alignment with no weight on the car, as it takes out floor level, tyre stiction and springs settling that you have to fight with when the car is on the ground.
Afterwards, stand back and admire your work, and vow never to do again…